Quickstart
From a fresh install to a real workstream in a few minutes.
1. Add a repository
Open Workstreams and click Add Repository in the Projects sidebar. Pick any local git repository.
The repo appears immediately, along with its current checkout as the local worktree.
2. Create a workstream
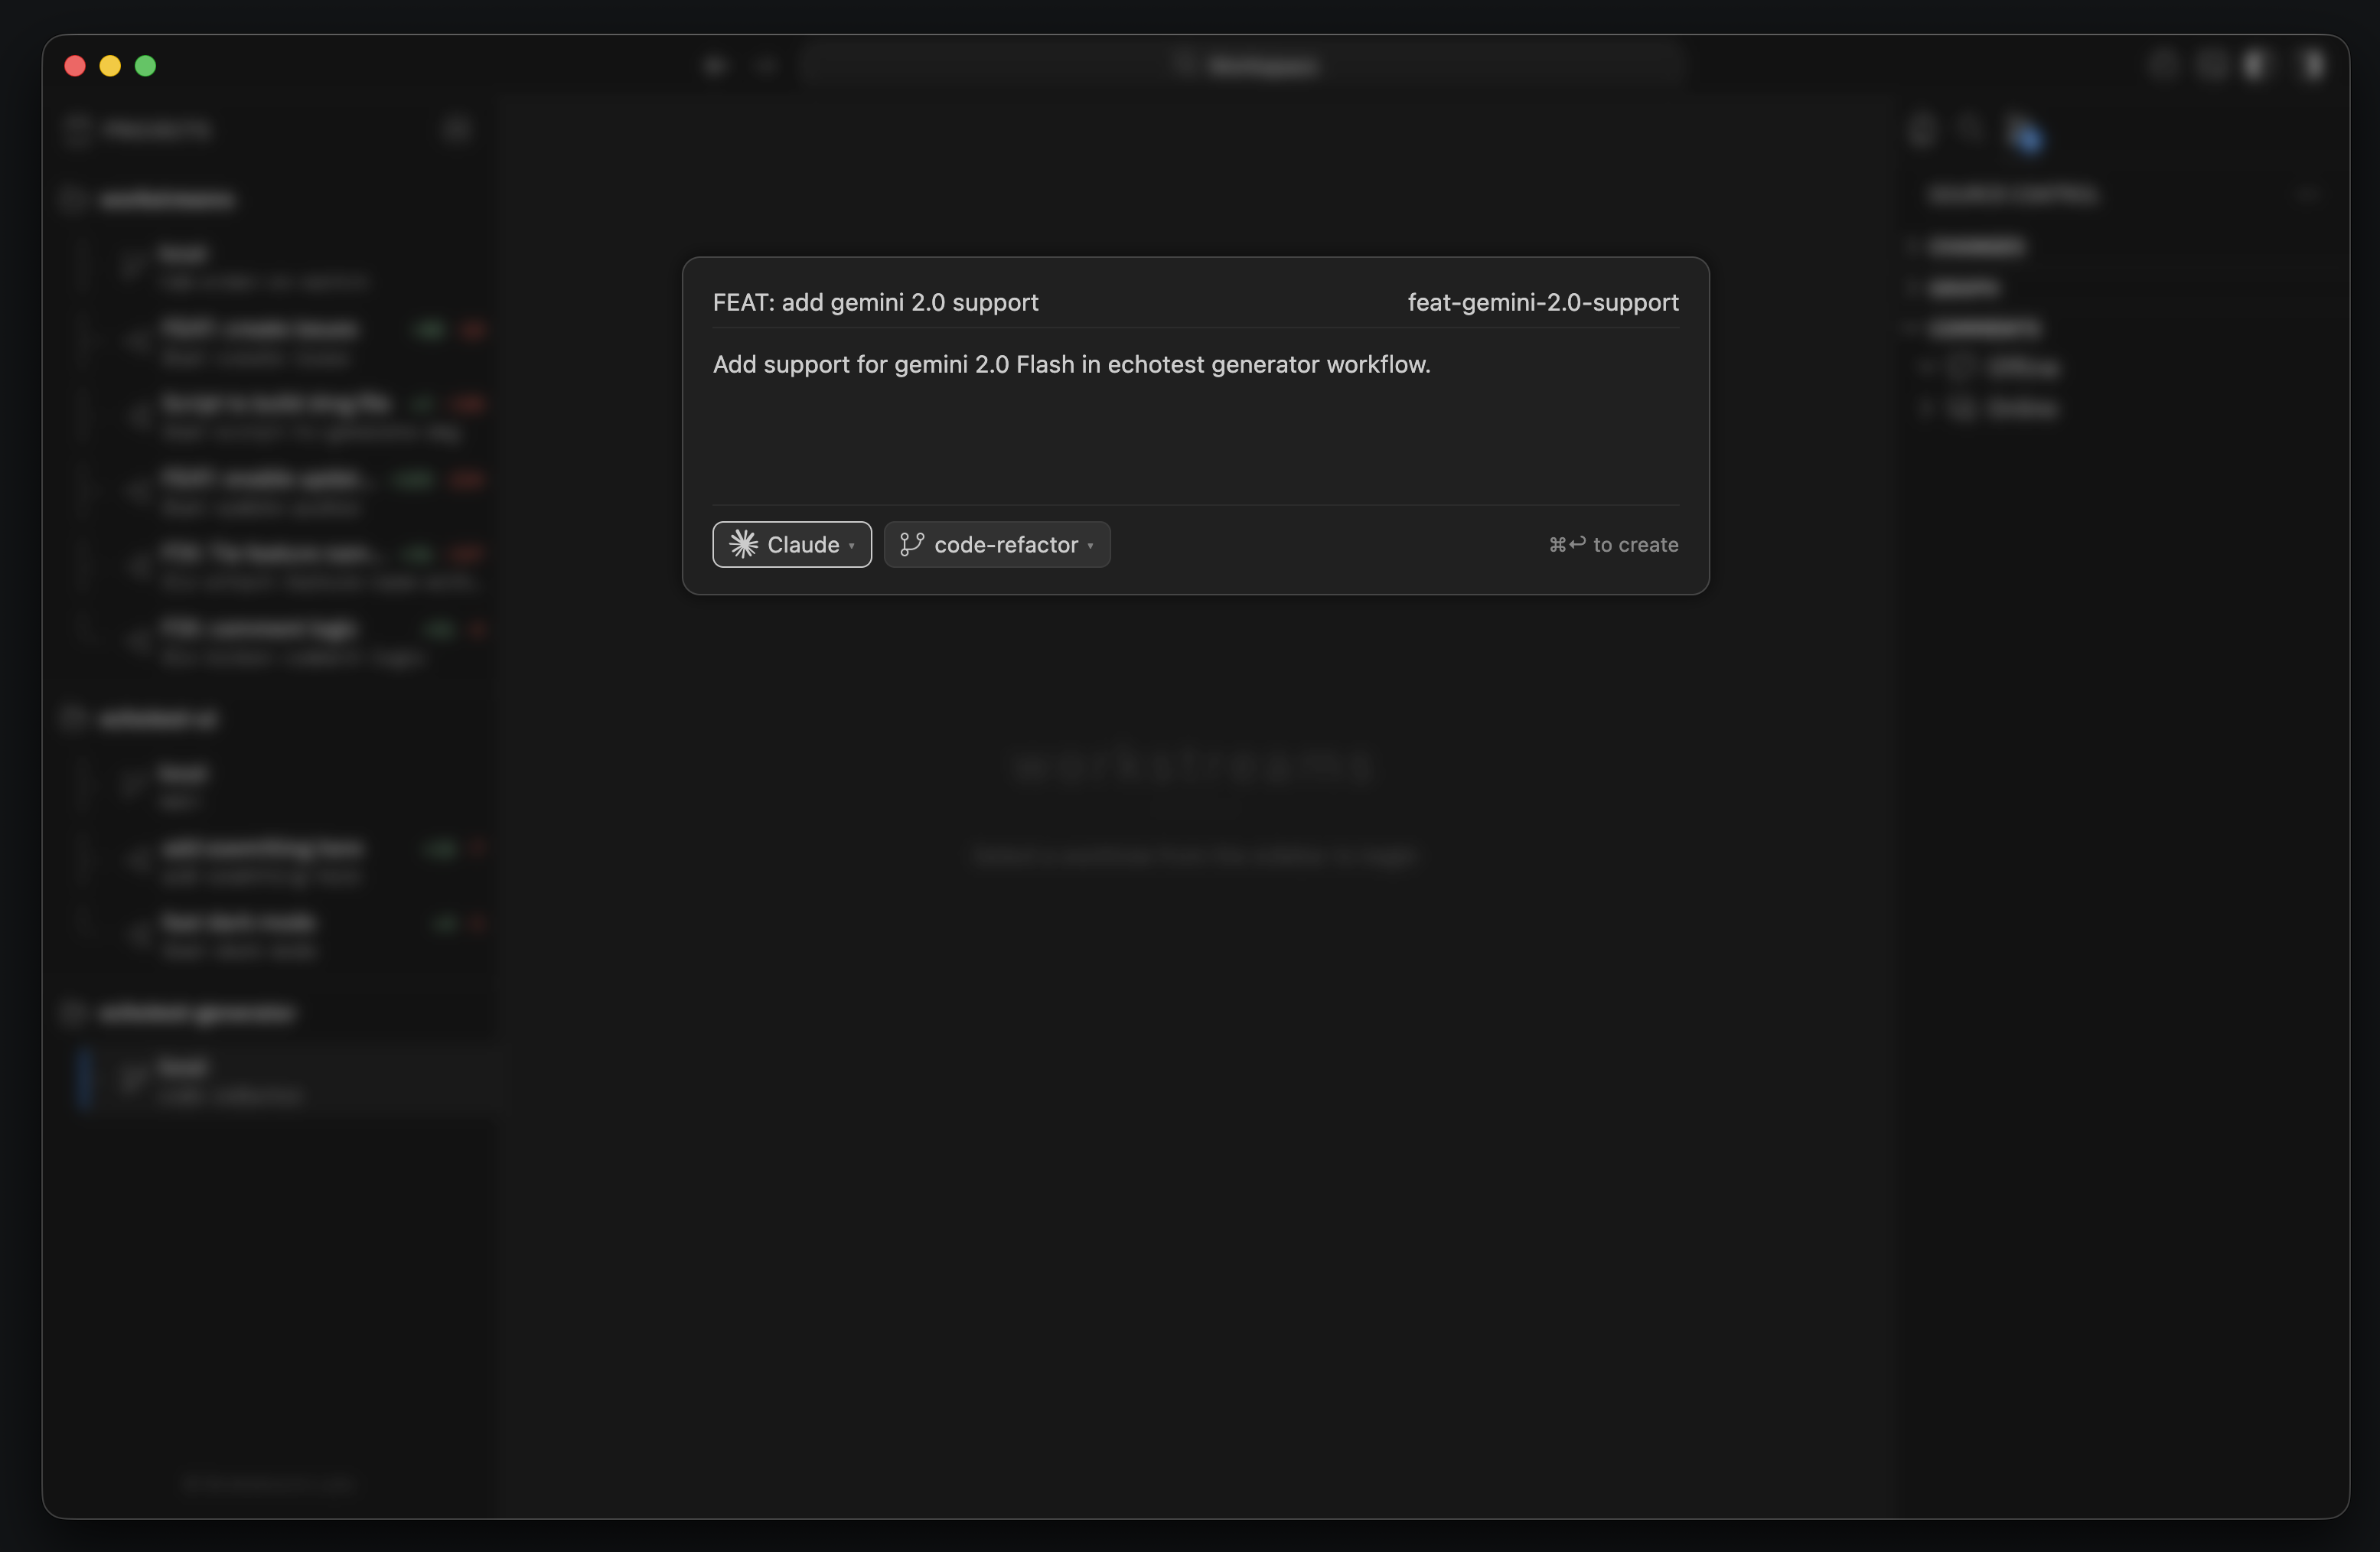
Click the + button next to the repository and fill in the modal:
- Feature name: the human-friendly label shown in the sidebar
- Branch name: the actual git branch to create
- Prompt: what you want the agent to do
- Base branch: the branch to branch from
- Agent:
Claude,Codex, orTerminal
You can also drag screenshots or mockups into the modal. Workstreams saves them into the new worktree and appends their paths to the initial prompt.
3. Let the app create the isolated workspace
When you confirm the modal, Workstreams:
- creates a new git worktree
- creates a branch with the exact branch name you entered
- stores worktree metadata in
~/.workstreams/<repo>/<branch>/metadata.json - switches the IDE into that new worktree
- opens a terminal and launches the selected agent command
If you pick Terminal, Workstreams creates the isolated workspace but does not auto-run an agent command.
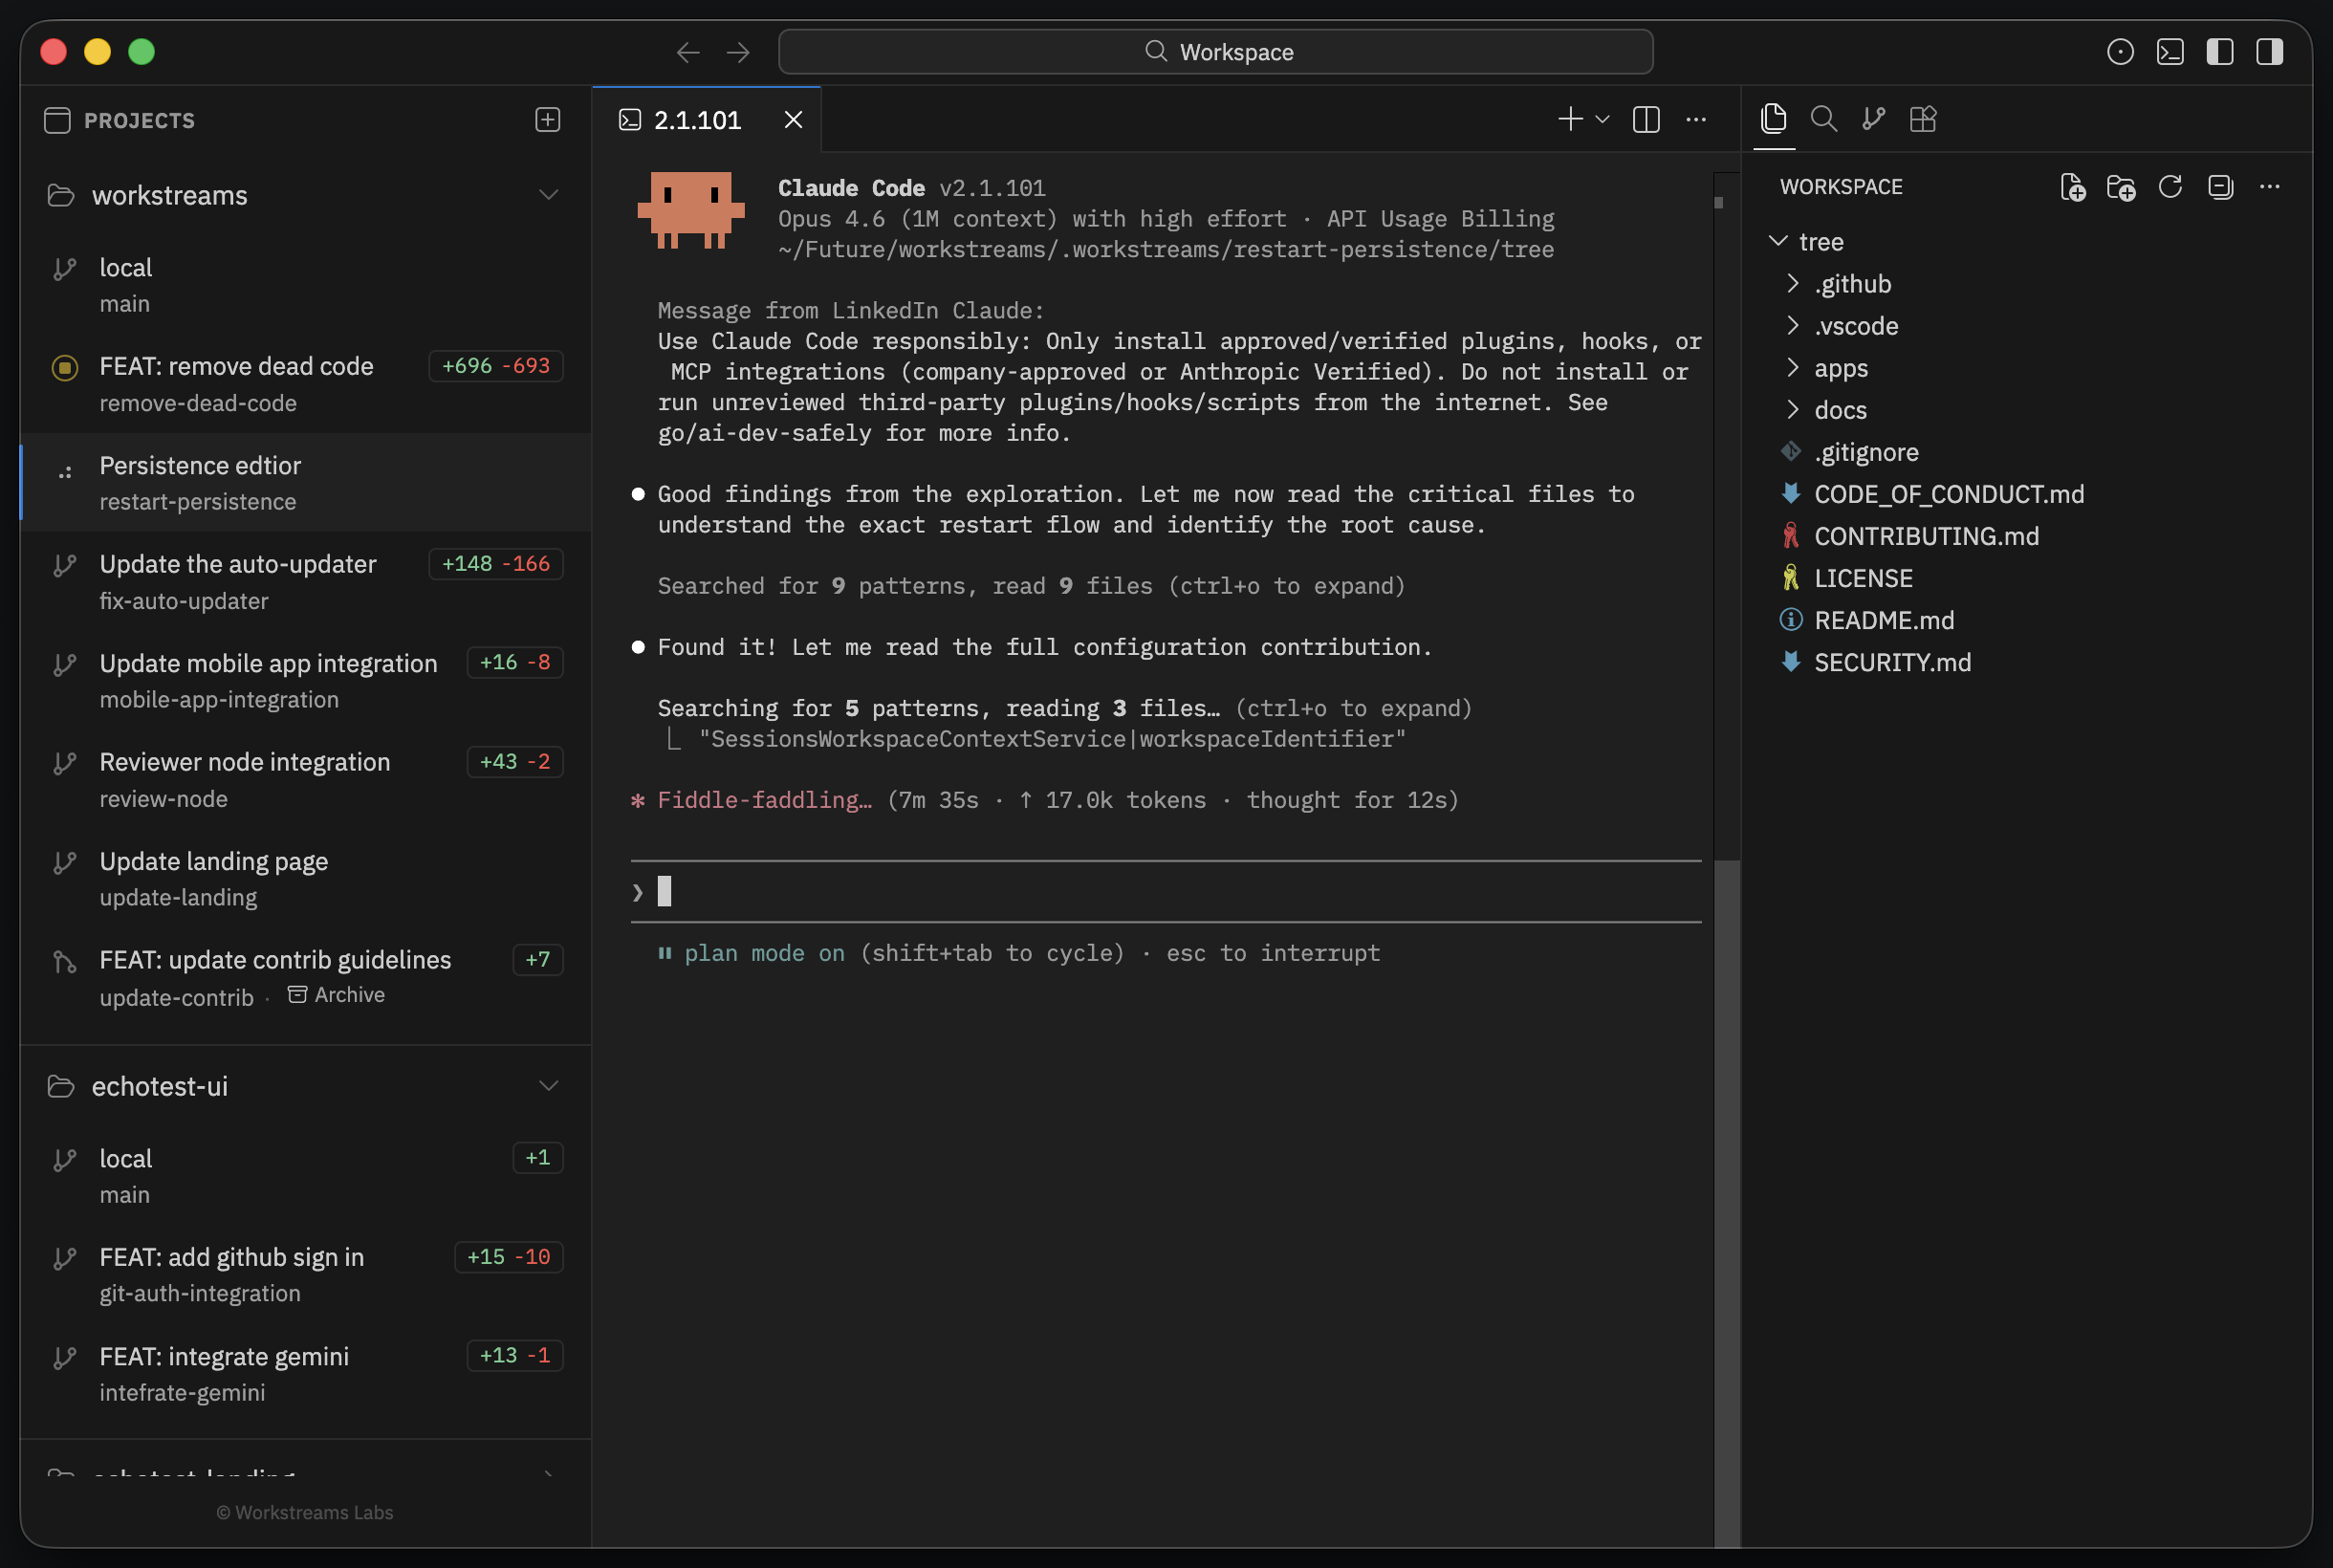
4. Switch between workstreams
Each workstream row in the sidebar shows the display name, branch, and live diff stats. Click any row to switch.
Switching is not just a folder change. Workstreams restores that worktree's editor layout, diff editors, and terminal state so each branch feels like its own saved workspace.
5. Review and iterate
Once the agent has made changes:
- Open a diff editor for the changed file.
- Leave inline comments on split diffs.
- Run Workstream: Send Review Comments to Claude from the Command Palette.
- Let the agent apply the fixes in the same worktree.
- Repeat until the branch is ready.
If the branch backs an open GitHub PR and you have signed in, Workstreams can include GitHub review threads in the same send-to-Claude flow.
6. Finish with your normal git flow
Workstreams does not replace GitHub. When the branch is ready, use your normal PR and merge flow from inside the worktree.
After merge, delete the worktree from the sidebar to remove the linked git worktree and branch.